
Author: dillon
Prevent (1-3-1)
When you find yourself with a lead late in the game and the offense has a lot of field left before they get close to the end zone, it is time to pull back, in order to be less aggressive in your defensive approach. The Prevent defense is what allows you to pre... Read More »
Cornerback Blitz (1-3-1)
Although Cornerbacks are usually your best pass defenders, the Cornerback Blitz turns them into one of your most ferocious blitzers. By unleashing your Cornerbacks from their usual pass protection duties, you can create opportunities for a surprise attack that... Read More »
Safety Blitz (1-3-1)
The Safety Blitz play is a fun play for your Safeties because it is an assignment for something that they do not get to do very often. This type of blitz can often times go undetected because the offense does not regularly see a Safety blitzing up the middle o... Read More »
Linebacker Blitz (1-3-1)
The Linebacker Blitz allows your Linebackers to forget about any pass coverage responsibility and viciously run straight after the Quarterback without a single ounce of hesitation. Your defensive Rushers should keep in mind that their Linebacker teammate is bl... Read More »

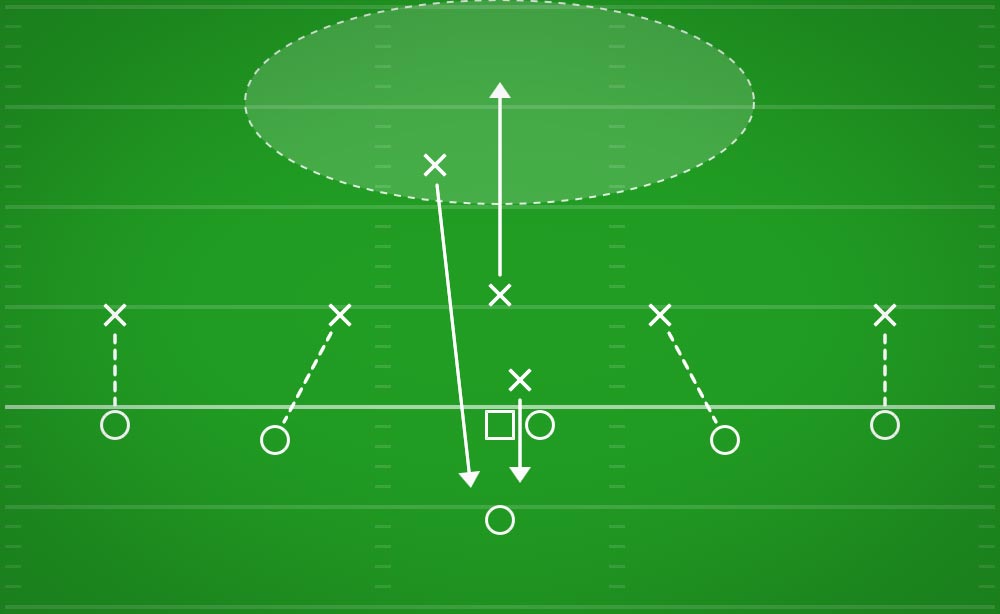
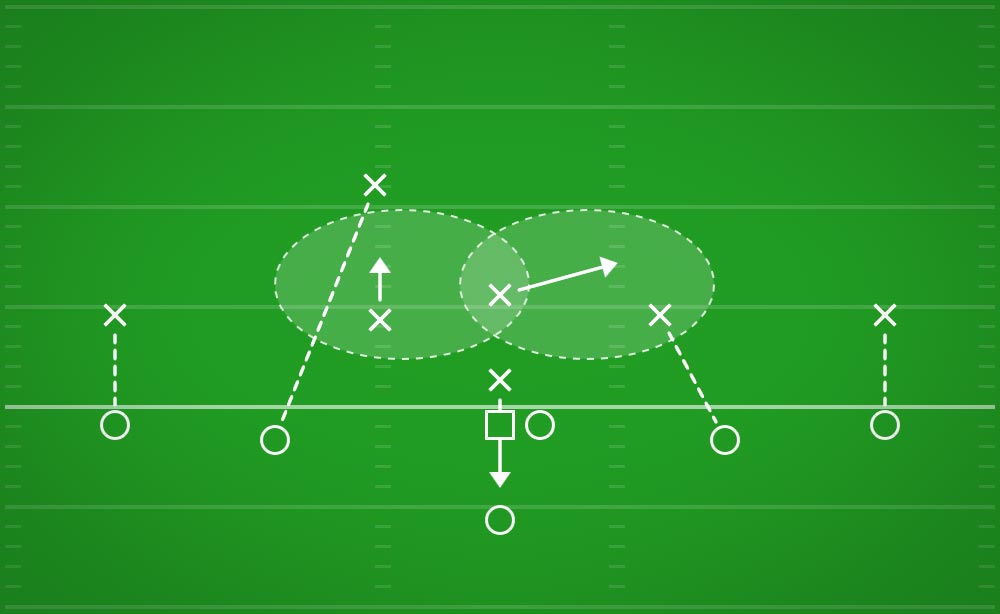
Hybrid (1-3-1)
The Hybrid defense is one of the most advanced defensive concepts in this book and seeks to split the field in half. On one half of the field, your team will play zone, and on the other half of the field, they will play man-to-man. This is intended as a way to... Read More »

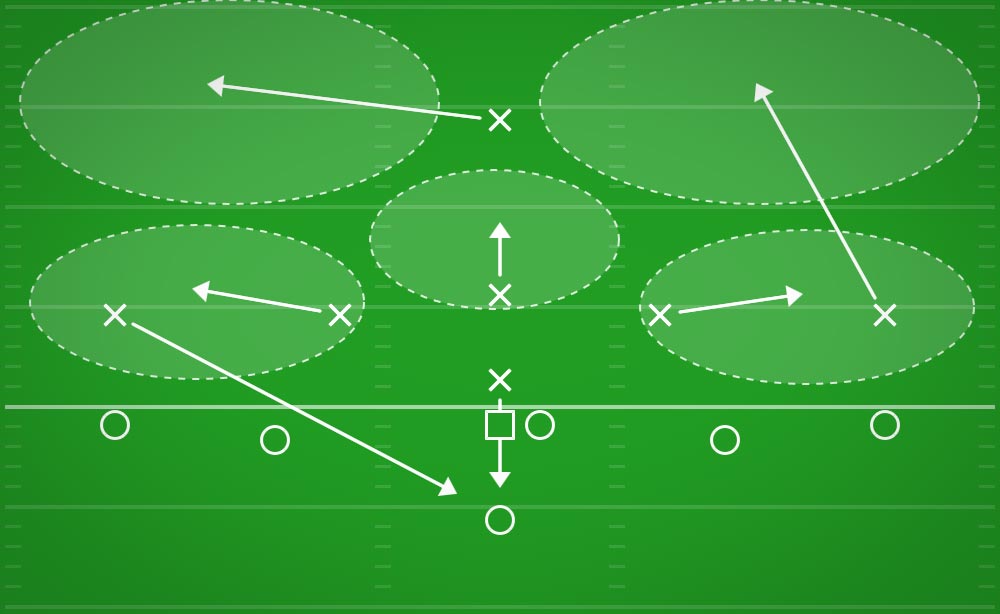
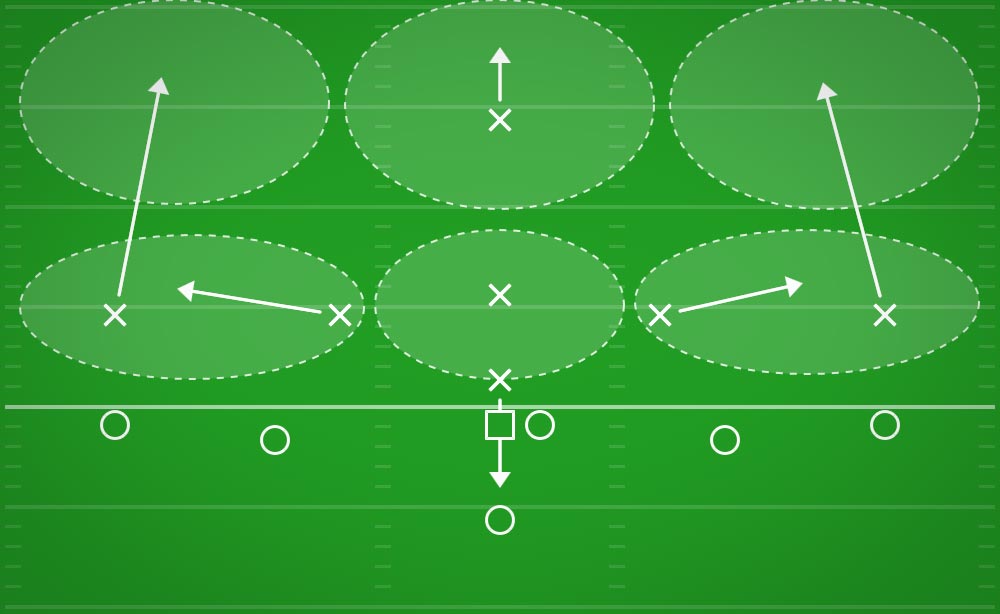
Matchup Zone (1-3-1)
A Matchup Zone defense combines the best features of both a Zone defense and a Man-to-Man defense. The Matchup Zone “matches up” your best defender against your opponents best player, with the added support of a zone defense throughout the rest of ... Read More »
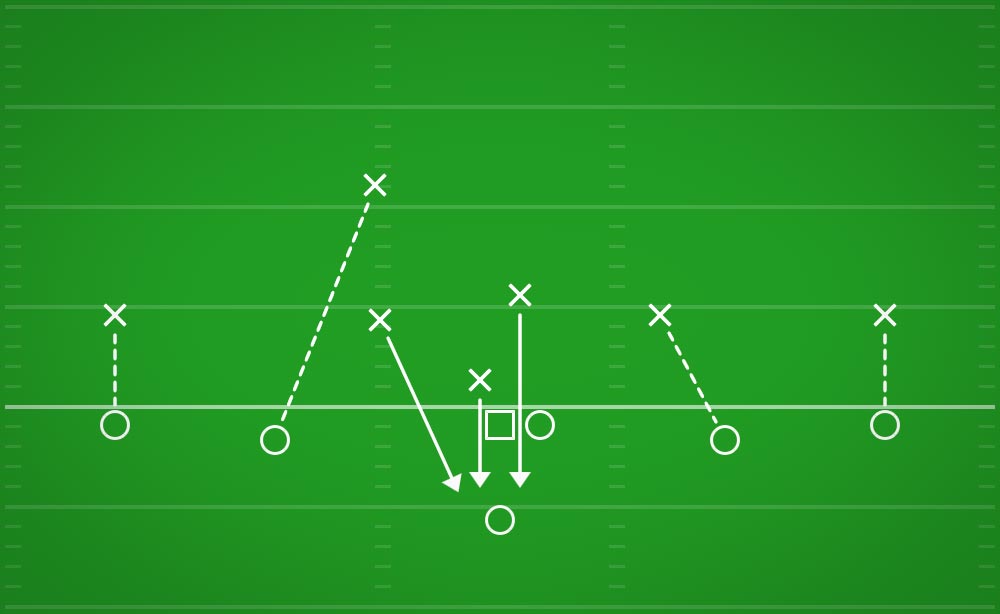
Man-to-man (1-3-1)
The Man-to-man defense is one of the most simple defenses to install in your team’s playbook. Assign each defender to a player that they can follow around the field, and tell them to lock down that one player. This assignment will remove distractions and... Read More »
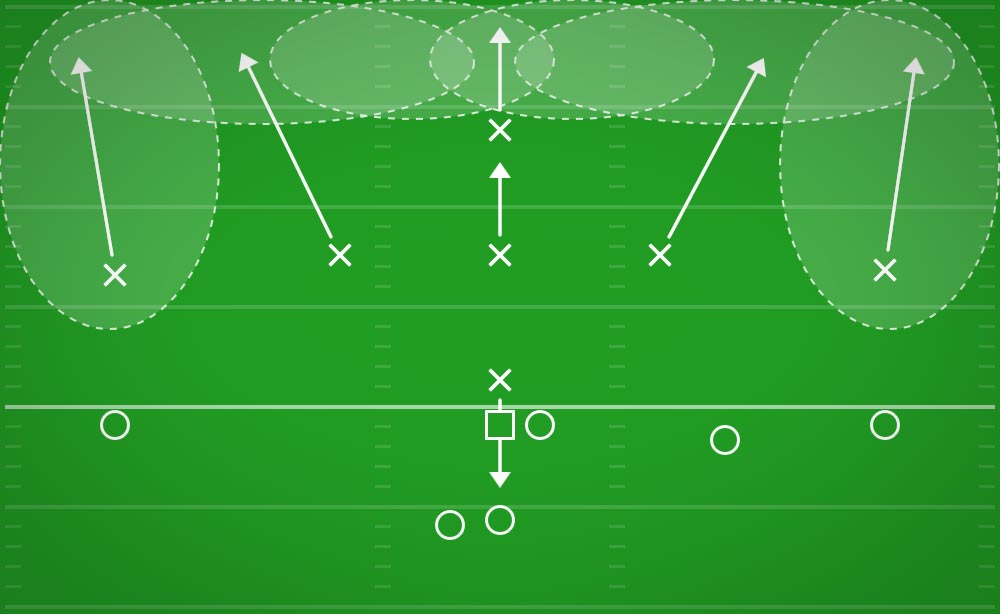
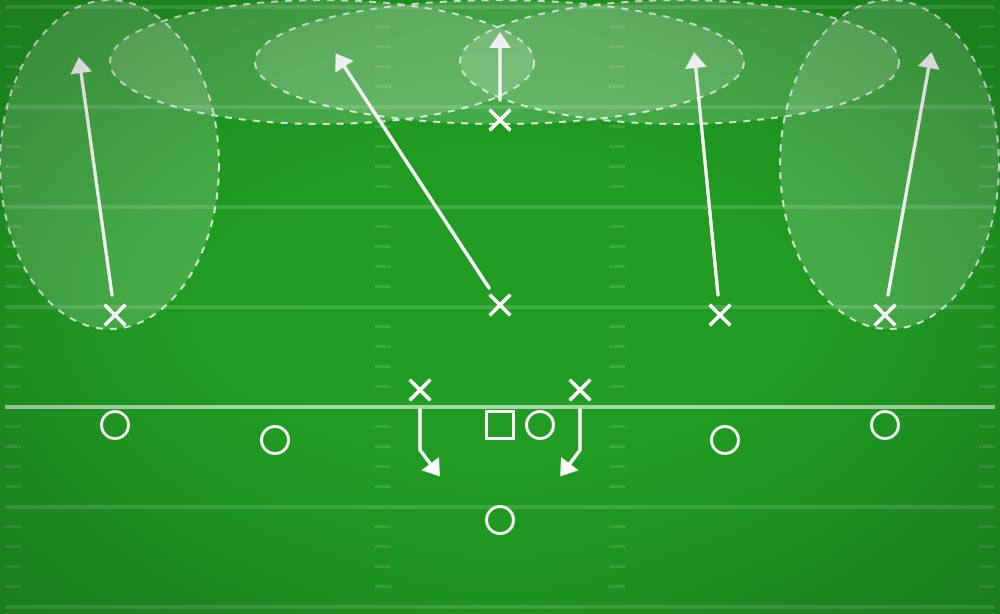
Cover 3 (1-3-1)
Similar to the Cover 2 defensive play, the Cover 3 defense ensures that zones are spread throughout the entirety of the defensive secondary. The Cover 3 play, however, sends three players to cover the deep zones of the defensive backfield, instead of just two,... Read More »

Cover 2 (1-3-1)
The Cover 2 play is the standard-bearer of zone defenses. The Cover 2 Zone defense allows you to evenly spread your defenders across all the zones of the defensive secondary. Splitting the deep part of your defensive secondary with the two deep zones enables y... Read More »
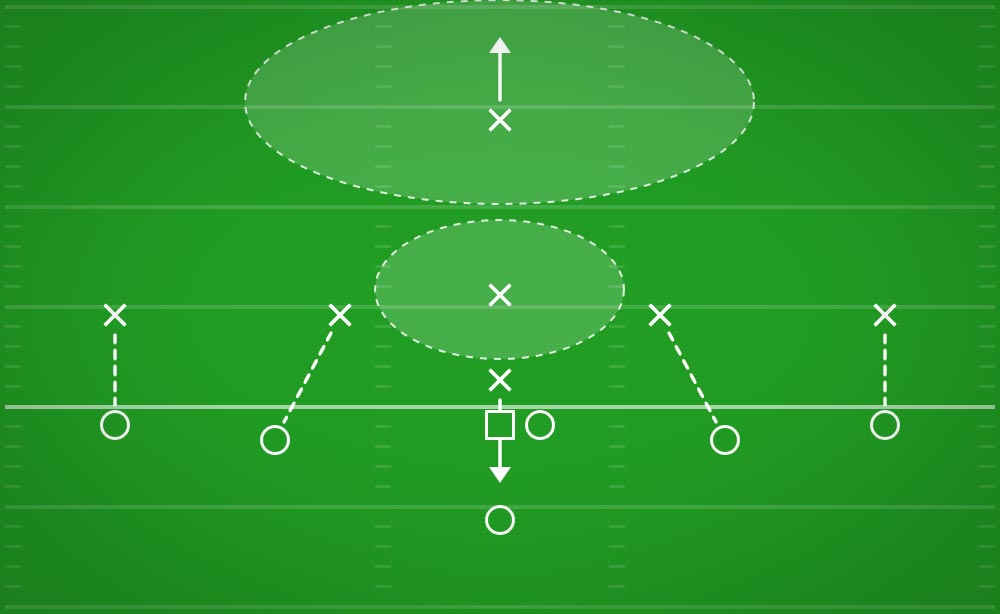
Cover 1 (1-3-1)
The Cover 1 defense is a great defense to use when you want to add an extra layer of protection behind your defensive secondary. Not only does it allow you to man up on each of the wide receivers, but it also provides your team the ability to place your best b... Read More »
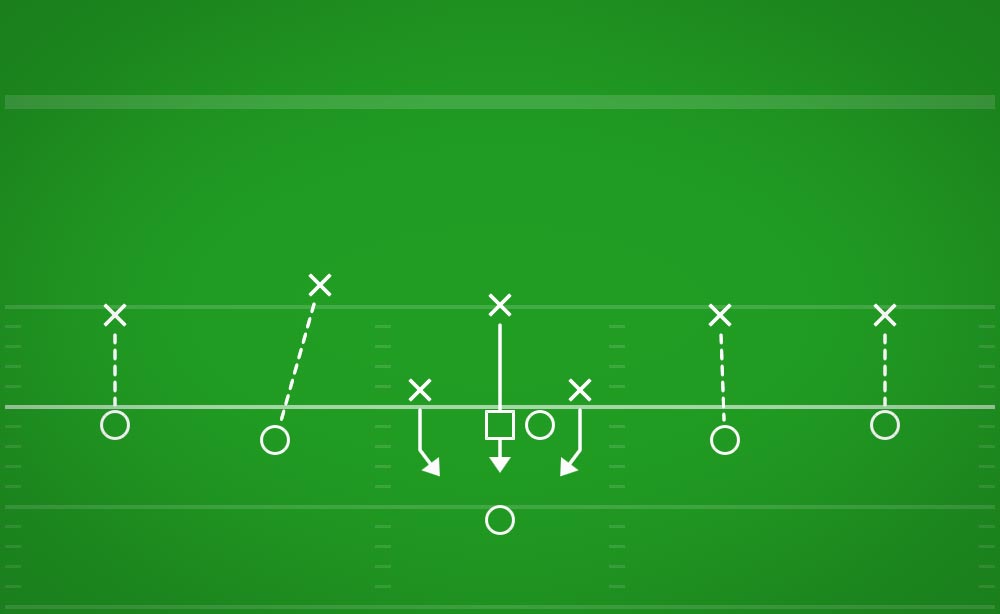
Goal Line (2-1-1)
The other team has marched themselves all the way down the field and you now find yourself backed up and guarding your own end zone. This is not a time to be passive. This is the time to pin your ears back and be as aggressive as you possibly can. Your interio... Read More »
Prevent (2-1-1)
When you find yourself with a lead late in the game and the offense has a lot of field left before they get close to the end zone, it is time to pull back, in order to be less aggressive in your defensive approach. The Prevent defense is what allows you to pre... Read More »
Previous
« Previous PageNext
Next Page»
